WordPress Publishing Automation With Python
The SEO community started to automate the boring stuff using Python and node JS in the last two years. Automation can save you hundreds of hours of manual work, and sometimes it can be more accurate than humans work.
This tutorial will talk about automating one of the most boring tasks in our daily work, uploading content to WordPress.
WordPress is one of the most popular CMS globally, and you can use it almost for everything from a news website, eCommerce, and personal blogs. I decided to find a way to automate uploading content to WordPress, and I have built three websites using this method.
The first one is Arab Crypto Cap. It's a website that provides prices for Crypto Currency in Arabic using Coin Gecko API.
The second one was for experimental purposes. I scraped the content from Healthline.com and published it.
The third website is for providing nutrition facts about food. I gathered the data from different sources and published them with images using Pexesl API.
All the websites I built using this method except Arab Crypto Cap are for experimental purposes, not generating revenues. The original sources of content are mentioned on each page.
You can use this method to automate publishing content on WordPress if you have one of the below cases
- Aggregating content from APIs
- Connect your WordPress website without mobile apps or other backend services
- Translating content from other resources
- Just having fun and learning new things
Automate Publishing Content on WordPress Using Rest API
WordPress REST API is an application programming interface that can connect your WordPress website with other applications that allow you to interact with the WordPress core without touching the CMS. The most powerful thing here is that you can get the benefits of all WordPress core and plugins to connect it with other applications.
Tasks You Can Achieve With WordPress REST API
- Add/edit/delete content (Posts, Pages, Categories)
- Add/edit/delete users
- Create WordPress plugins
And many other things you can achieve using REST API. You only need an idea and data, and then you can automate your work using this method.
WordPress REST API & Python
In this tutorial, we will use Python to publish content on our WordPress website with the help of REST API. It is very easy to use them to achieve many things and publish thousands of pages in hours.
Before we start, make sure to have
- WordPress installation preferred to be on your local machine for testing
- Python installed on your machine
- Jupyter Notebook or any other IDE
- Dummy Data, like scrapped articles or auto-generated Lorem Ipsum text.
Try this tutorial on a staging environment or your local machine. It's 100% safe and tested many times. But as usual, it is better to test locally and then move to the production environment.
WordPress Plugins
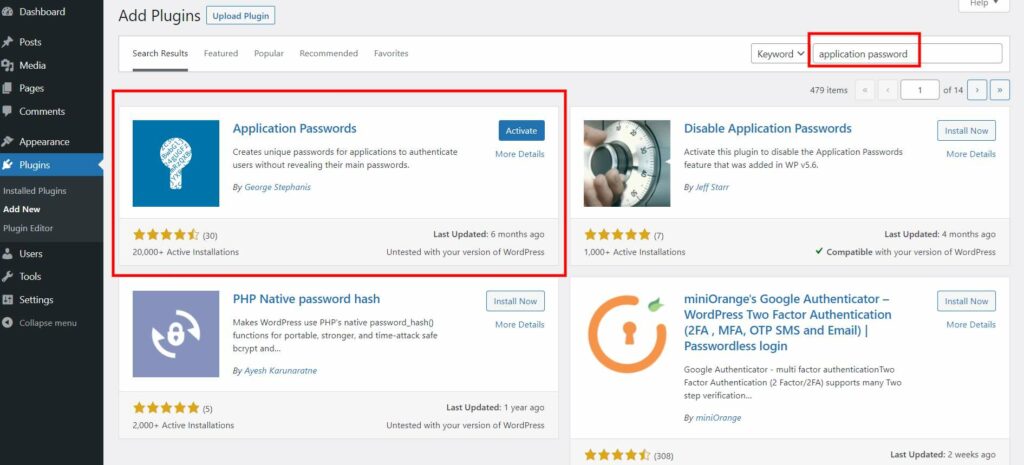
For this tutorial, we need only one plugin that allows our Python application to connect to our WordPress website using REST API. This plugin is called Application Password. You can download it for free and install it on your website.
In WordPress 5.6, this plugin has been migrated with the core. You can download this plugin only from your WordPress plugins page, and you won't find it on wordpress.org. You can follow this guide to use the core feature.
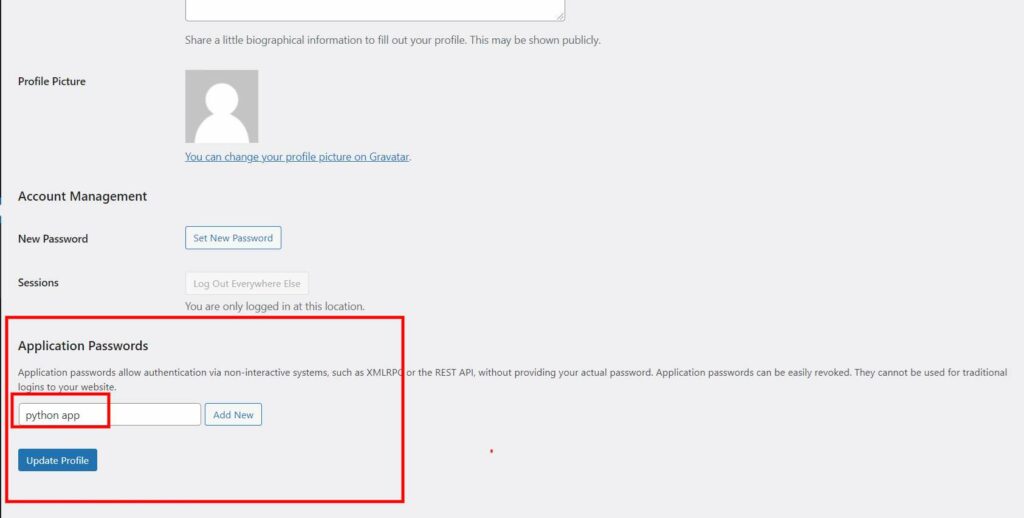
After installing the plugin, go to the Edit Profile page, and scroll down to the bottom of the page. You will find a new field and button, add a name for your application and click on create a password.
After clicking on Add New, a pop-up will appear with your application password, and this password will be used in our Python application.
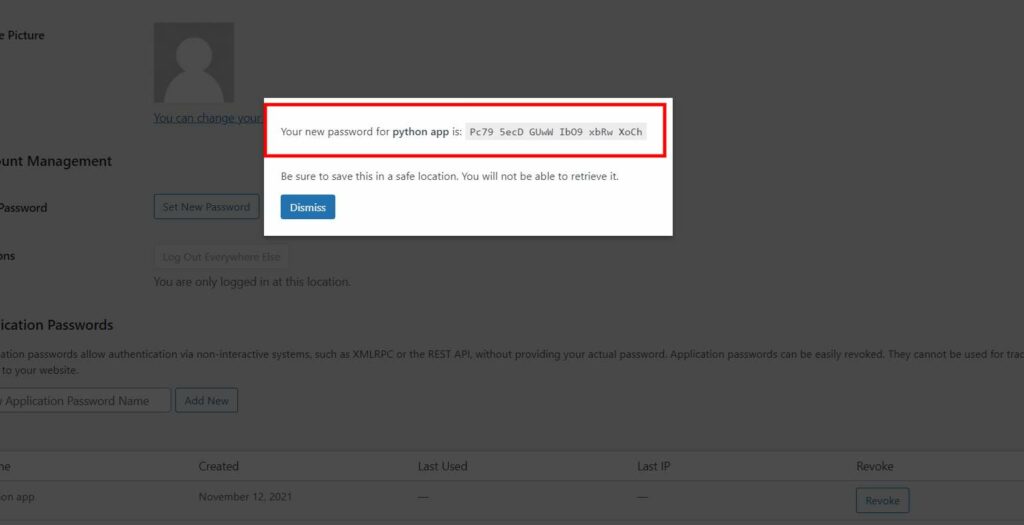
Make sure to store this password safely, don't share it with anyone, and remove this plugin when you are done with it.
Python Libraries to Automate WordPress Publishing
make sure to install the below Python libraries on your machine
- Pandas to read the data
- base64 to encode the password
- requests to perform requests on REST API
- tqdm to check the progress of the tasks
- JSON to read the JSON response from REST API
import pandas as pd
import base64
import requests
from tqdm.notebook import tqdm
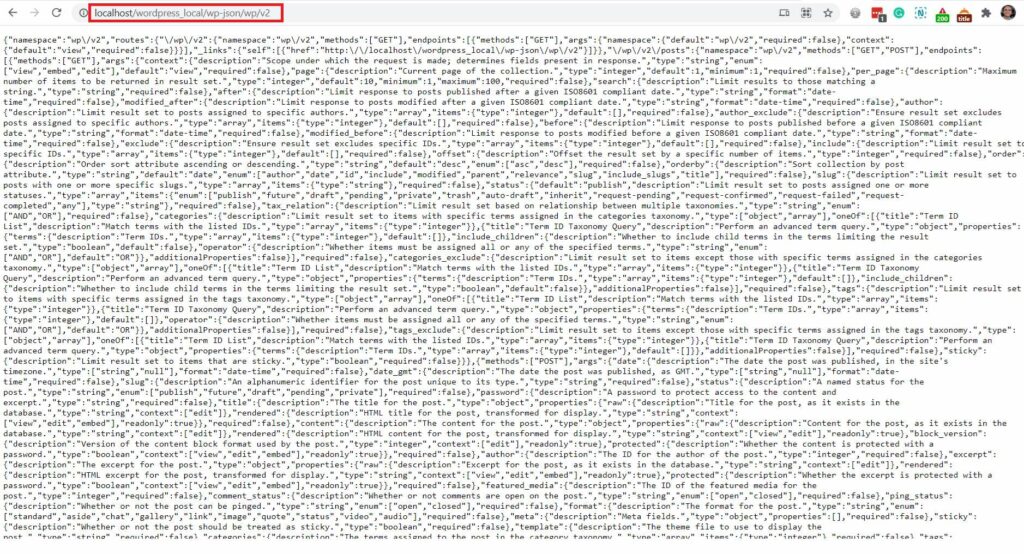
import jsonTo test the REST API on your WordPress website, go to this link, and you will see a JSON response on your browser.
http://localhost/wordpress_local/wp-json/wp/v2
Change localhost/wordpress_local with your website name, for example:
https://www.example.com/wp-json/wp/v2
Then in our Python application, we need to define a user and password, and link.
| Variable | Description | Value |
| user | The username of your WordPress account | admin |
| password | The application password generated from the plugin | Cd4n 9jBk w9Bn hFoj yFDR Qchw |
| url | The URL of your WordPress website | http://localhost/wordpress_local/wp-json/wp/v2 |
user = 'admin'
password = 'Cd4n 9jBk w9Bn hFoj yFDR Qchw'
url = 'http://localhost/wordpress_local/wp-json/wp/v2'
Encode the connection of your WordPress website
wp_connection = user + ':' + password
token = base64.b64encode(wp_connection.encode())
Prepare the header of our request
headers = {'Authorization': 'Basic ' + token.decode('utf-8')}Define a title for our first post
post_title = "This is my first post using Python and REST API"Define a body for our post
post_body = "This is the body content of my first post and i am very happy"Then we need to set the type of our post and assign the content values to it using a Python dictionary
    post = {'title': post_title,
            'status': 'publish',
            'content': post_body,
            'author': '1',
            'format': 'standard'
}| Value | Description |
| title | The title of the post |
| status | The status of the post can be "publish", "draft" |
| content | The content (body) of the article, you can use HTML here |
| author | Author ID, you can assign any ID from the registered users on your website |
| formate | The format of the post, you can use any of the built-in formats, in our case we are using "standard" |
Finally, we will perform the request on the REST API to insert the post.
wp_request = requests.post(url + '/posts', headers=headers, json=post)Now go to your WordPress posts list, and you should see your first post published.

I am sure that you are happy now, and the ideas started rushing in your mind to create websites and automate your work.
Now we will create more posts and assign them to categories, and upload images. But before that, let's install some of the most popular WordPress Plugins and see how the REST API and the WordPress core will interact with each other.
We will install the below plugins and use them later in our next project:
- Yoast
- EWWW Images
Experimental Project
Now we will build a project to experiment with many things using Python and WordPress. Our project will be about my country Jordan that will include articles about places and food dishes.
I highly recommend you visit my country Jordan, we have many lovely places to visit and delicious food to eat like Mansaf.
Our plan will be:
- Create categories manually on WordPress
- Extract the IDs of the categories from the Database
- Set up a content plan
- Get the content from Wikipedia
- Translate the content to any language you want
- Get free high-quality images from Pexels
- Upload the content automatically on WordPress
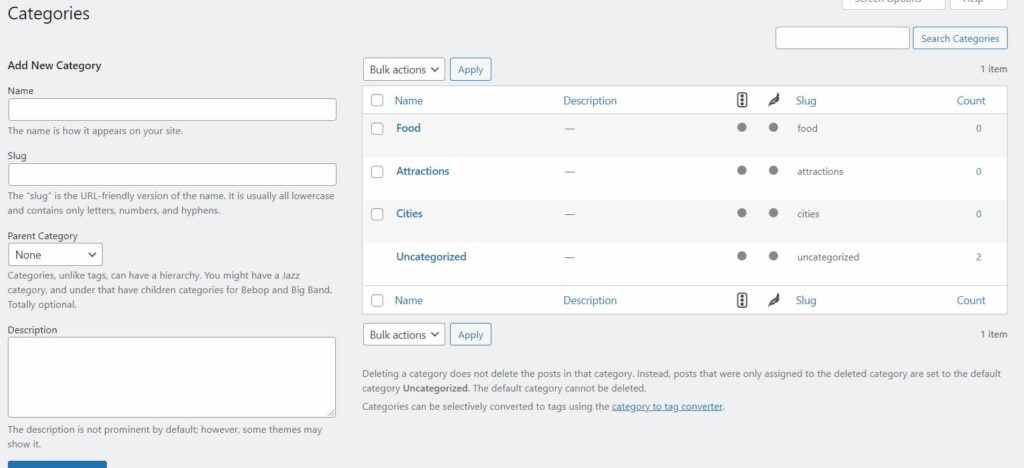
Adding Categories to WordPress
Here we will add three categories manually to our WordPress website and will call them:
- Cities
- Attractions
- Food
Extract Categories IDs from the Database
In case you have many categories on our website, you can get the IDs of the categories directly from the database to use in our Python script by performing the below queries
use wordpress_local;
show tables;
describe wp_terms;
select term_id,name from wp_terms;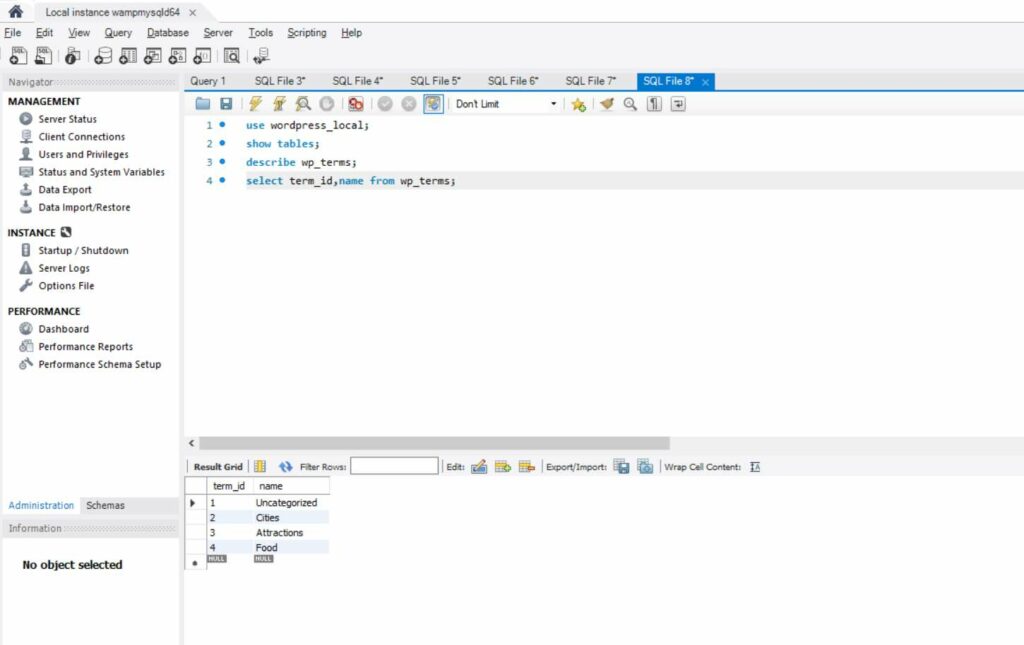
And then extract them in a CSV format.
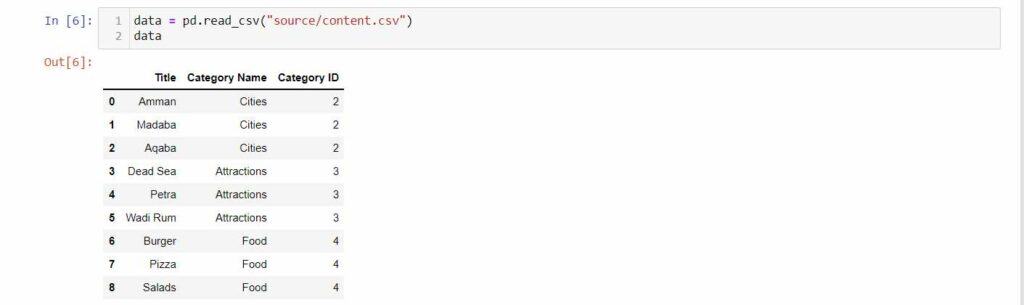
Set up a Content Plan
We will open a Google sheet and add three columns to add titles for our content and assign categories for them.
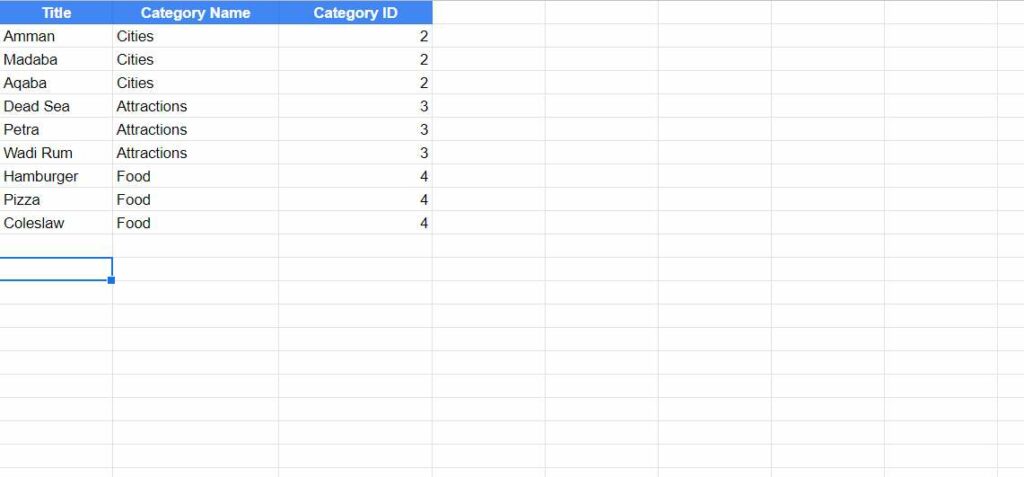
There is no information on Wikipedia about Jordanian food, so I decided to add other types of food.
Now export the Google sheet to a CSV file to use in our Python script.
Get Content From Wikipedia Using Python
Now we will use Wikipedia API to get content about our topics. I will leave you with a tutorial from our friend Jean Christophe Chouinard. he has a whole article about Wikipedia API and its use.
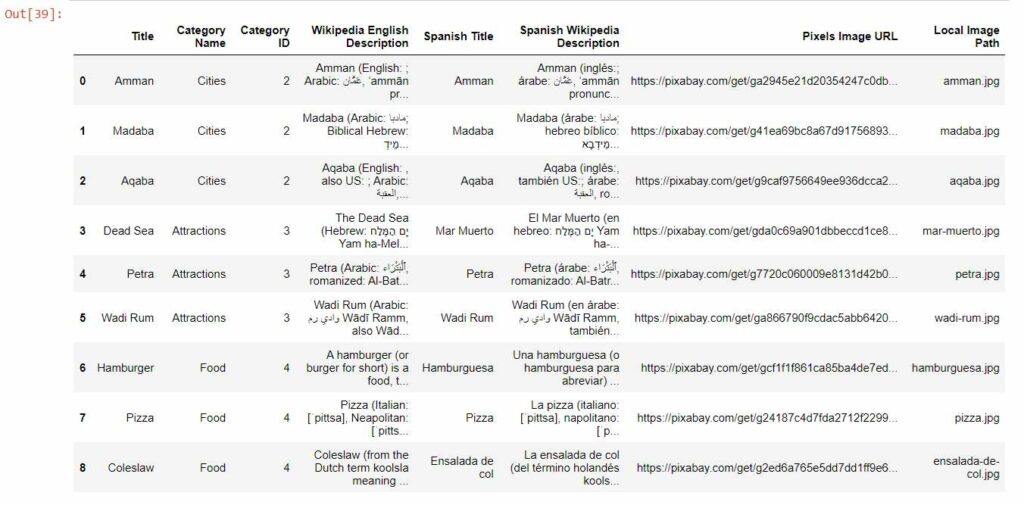
Read and display our data in Pandas data frame
Define a function to get the data from Wikipedia
def get_wiki(title):
    subject = title
    url = 'https://en.wikipedia.org/w/api.php'
    params = {
            'action': 'query',
            'format': 'json',
            'titles': subject,
            'prop': 'extracts',
            'exintro': True,
            'explaintext': True,
        }

    response = requests.get(url, params=params)
    data = response.json()

    page = next(iter(data['query']['pages'].values()))
    try:
        return page["extract"]
    except:
        return "No Wiki Data"
Loop over the titles and pass them to the Wikipedia function
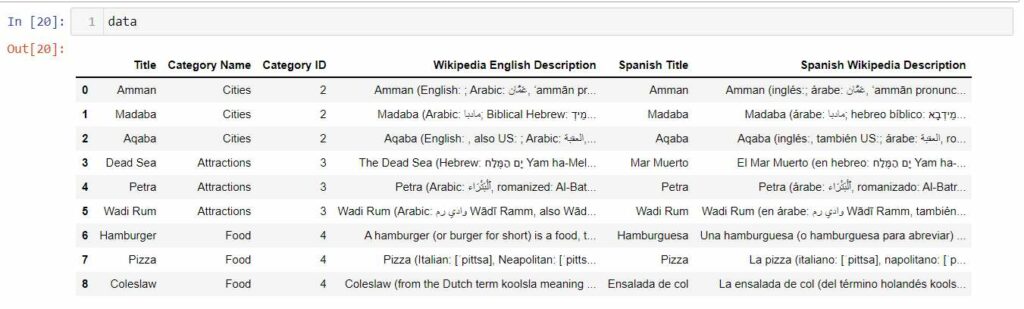
data["Wikipedia English Description"] = data["Title"].apply(lambda title : get_wiki(title))And now we have our data from the Wikipedia API. The next step is to translate the content and the titles to Spanish
from deep_translator import GoogleTranslatordef translate_content(original_text,language):
translated_content = GoogleTranslator(source='auto', target=language).translate(original_text)
return translated_content
data["Spanish Title"] = data["Title"].apply(lambda title : translate_content(title,"es"))
data["Spanish Wikipedia Description"] = data["Wikipedia English Description"].apply(lambda description : translate_content(description,"es"))Now we have the original content and the translated in the same data frame
Get Free High-quality Images Using Python
Now it's time to get free high-quality images from Pexels API. It is a website that provides free high-quality images that you can use in your website without attribution to the owner.
Sign up on their website and get an API key. It is free and easy to use.
We will use our English titles to get images from the API, and sometimes you can't find the images you want. The API will return the most relevant images to your keyword.
In the API request, we will pass our category and title so that the API can get us images from the most relevant category.
Step to get images from Pexels API
- Request the image from the API
- Get image URL form Pexels
- Download the image locally
- Change the quality of the image
Request the image from Pexels API
def get_pixabay_image(row):
    item_name = row["Title"].replace(" ","+")
    category = row["Category Name"]
    url = f"https://pixabay.com/api/?key=xxxxxxxxxxx&q={item_name}&image_type=photo&orientation=all&category={category}&safesearch=true&order=popular&per_page=3"
    page = requests.get(url)
    json_data = page.json()
    try:
        image_url = json_data["hits"][0]["largeImageURL"]
        return image_url
    except:
        return "No Image"

data["Pixels Image URL"] = data.apply(lambda row: get_pixabay_image(row), axis=1)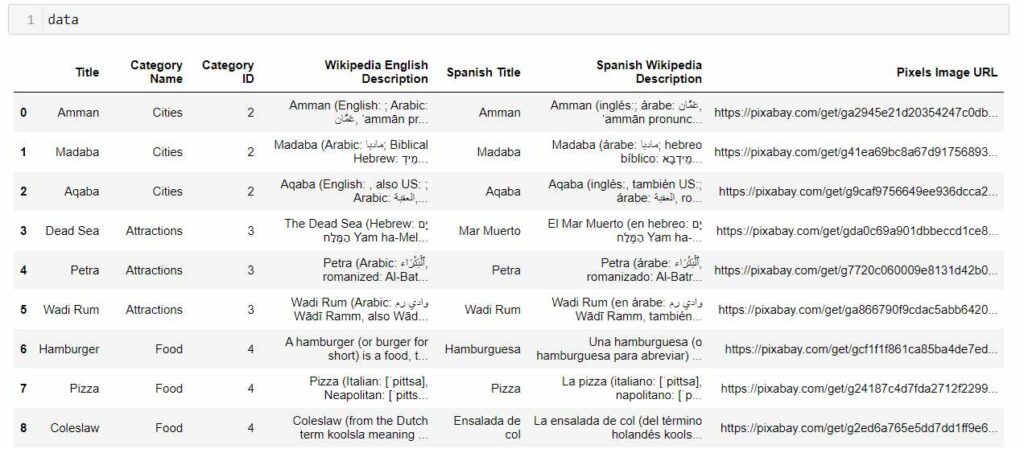
Now we have the image's URLs from Pexels website
Change xxxxx with your API key
Now we will download the images on our machine and optimize the quality to 70% to reduce the file size.
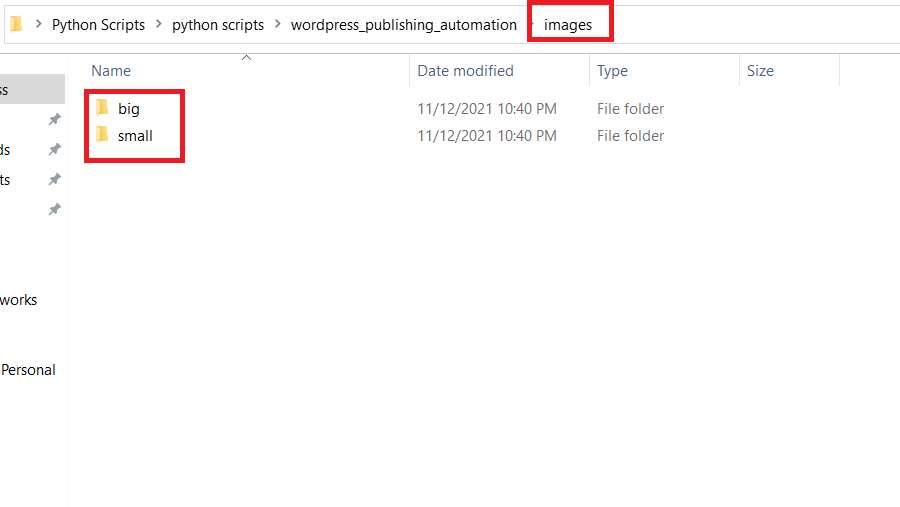
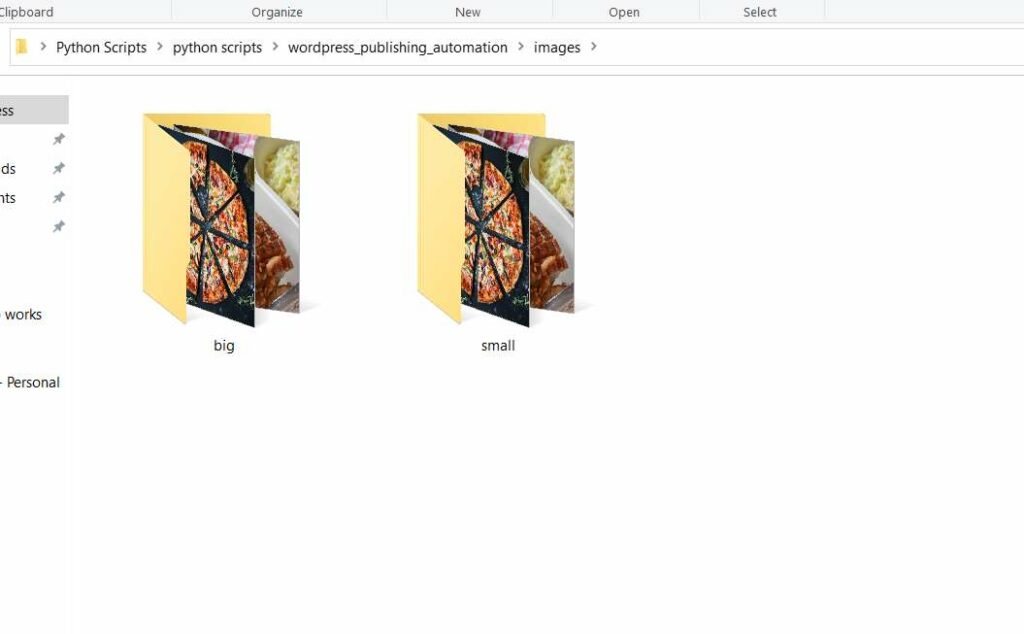
Create a new folder where your script is placed and name it images. inside it, create two other folders for optimizing the images and call them big and small
from PIL import Imagedef download_image(row):
# Download Image
response = requests.get(row["Pixels Image URL"])
image_name = row["Spanish Title"].lower().replace(" ","-")
file = open(f"images/big/{image_name}.jpg", "wb")
file.write(response.content)
file.close()
# Convert Image Quality
image_file = Image.open(f"images/big/{image_name}.jpg")
image_file = image_file.convert('RGB')
image_file.save(f"images/small/{image_name}.jpg", quality=70)def generate_images(row):
if row["Pixels Image URL"] != "No Image":
download_image(row)
return row["Spanish Title"].lower().replace(" ","-") + ".jpg"
else:
return "No Image"data["Local Image Path"] = data.apply(lambda row : generate_images(row), axis=1)Results
Images
Upload the Content on WordPress
Now we are ready to upload the content on WordPress. We have the translated content and the optimized images.
def wp_insert(post_title, post_content, category, image_path):
    media = {
        'file': open("images/small/" + image_path,'rb'),
        }

    image = requests.post(url + '/media', headers = headers, files = media)

    imageID = str(json.loads(image.content)['id'])

    post = {'title': post_title,
            'status': 'publish',
            'content': post_content,
            'categories': category,
            'featured_media': imageID,
            'author': '1',
            'format': 'standard'
            }

    wp_insert_request = requests.post(url + '/posts', headers=headers, json=post)
for index, row in tqdm(data.iterrows()):
wp_insert(row["Spanish Title"], row["Spanish Wikipedia Description"], row["Category ID"], row["Local Image Path"])
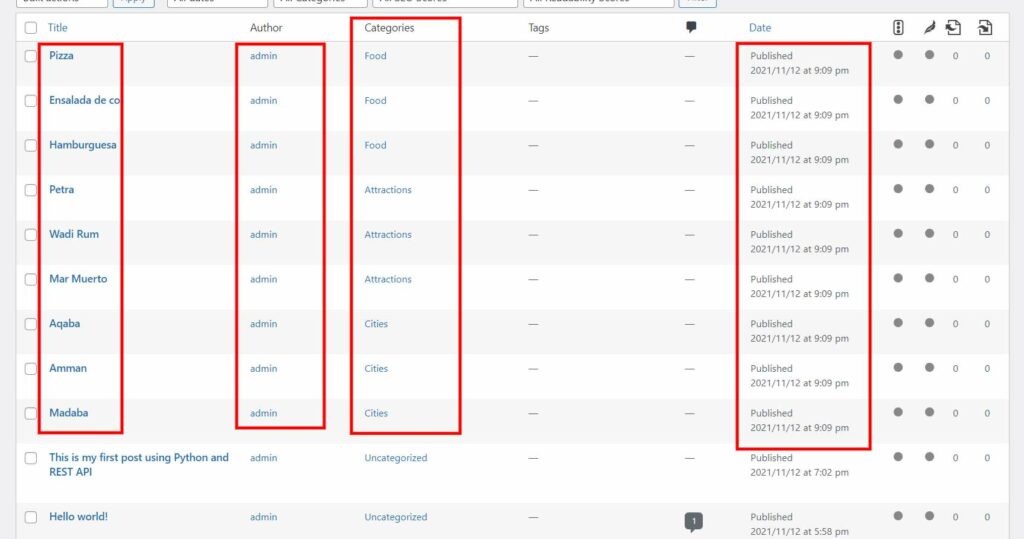
print("Done")And now you have all your posts on your website published with optimized images using the downloaded image optimization plugin.
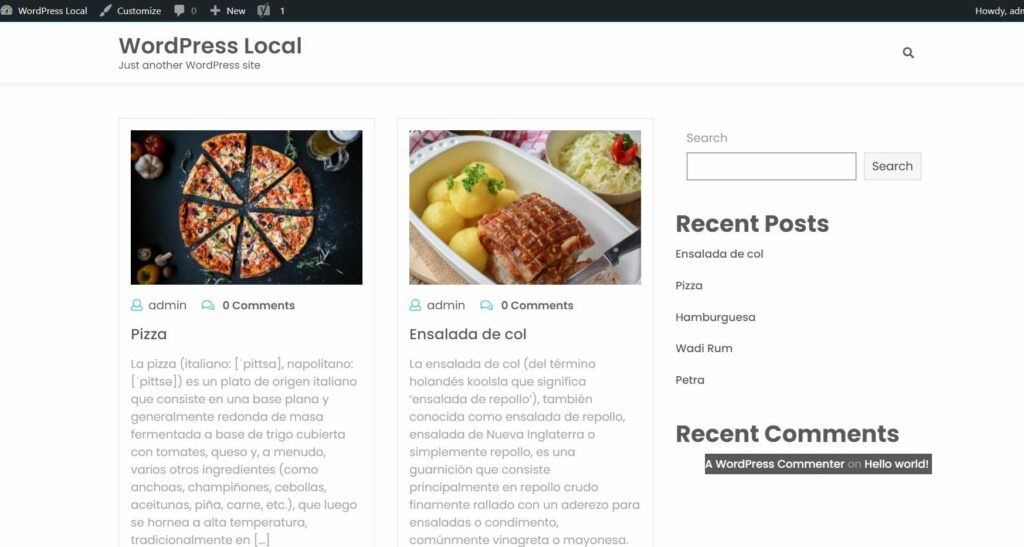
Homepage content
You can find the complete script in this Google Colab Notebook
If you have any questions, feel free to reach out to me on my Linkedin Profile.
Related Posts


About the Author